-
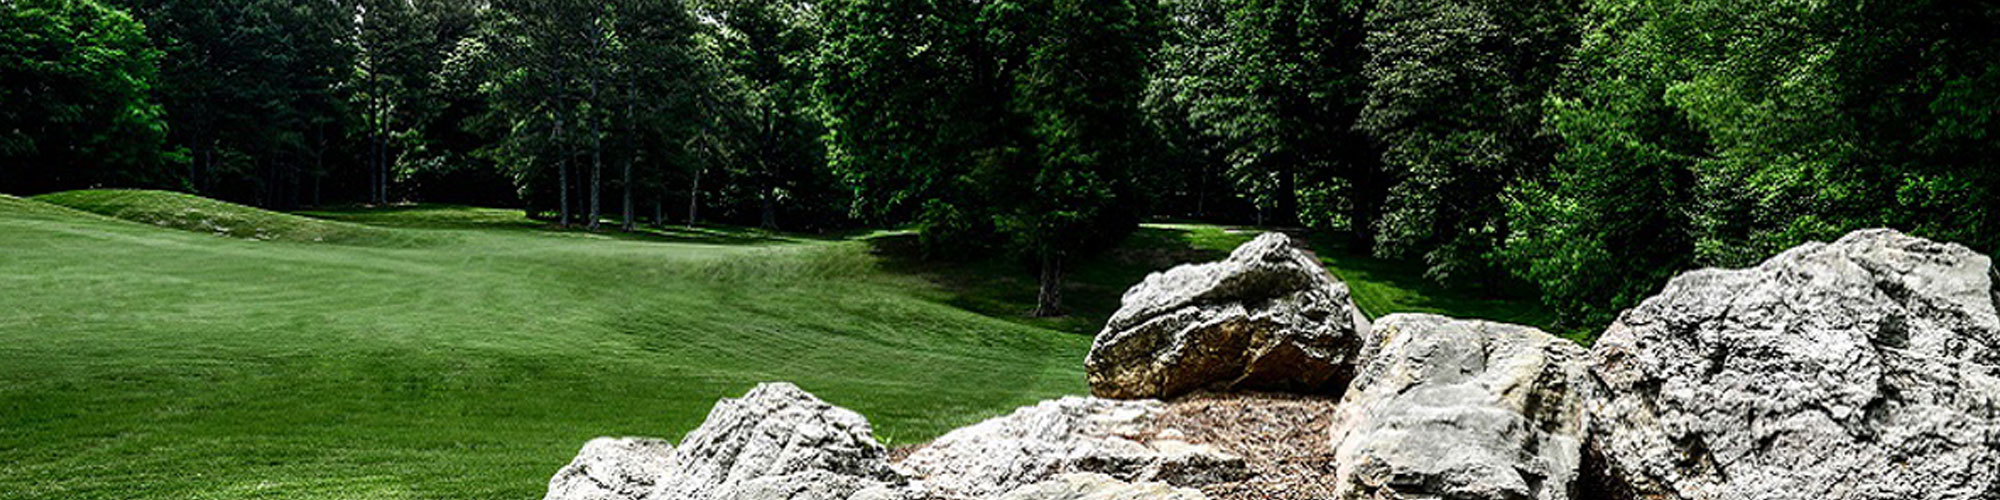
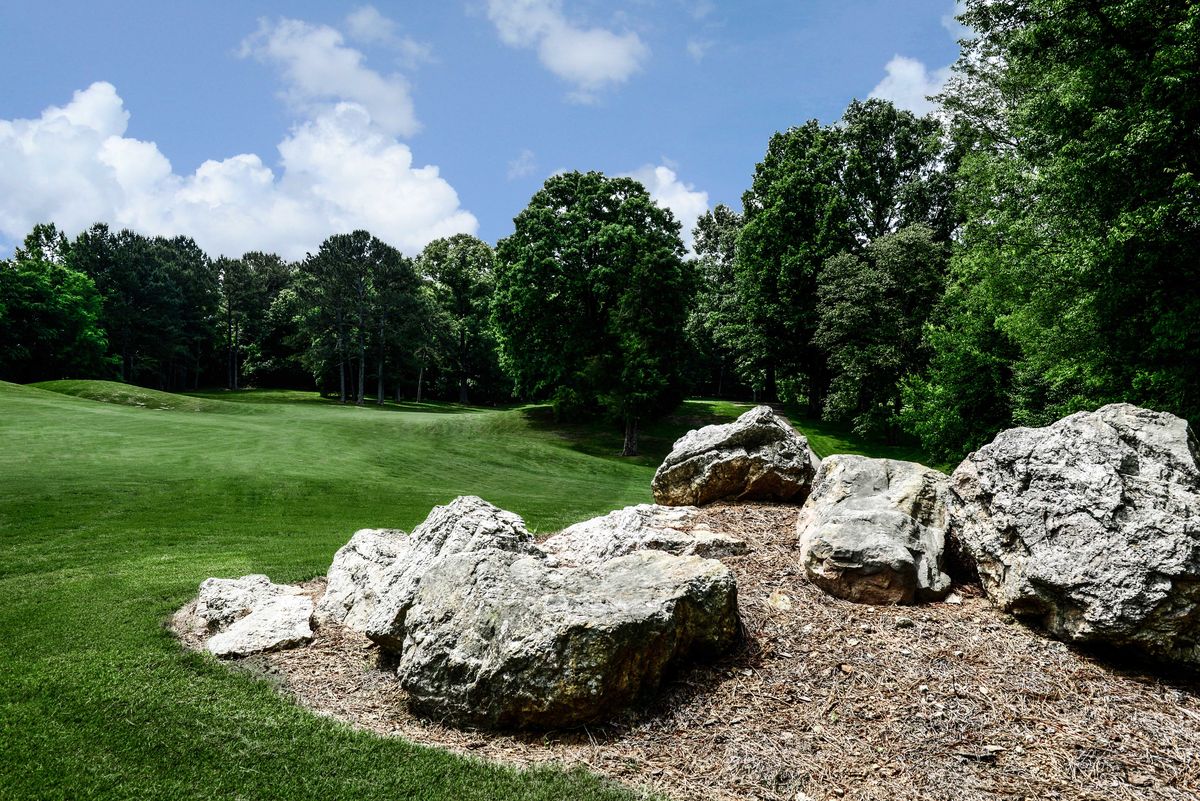
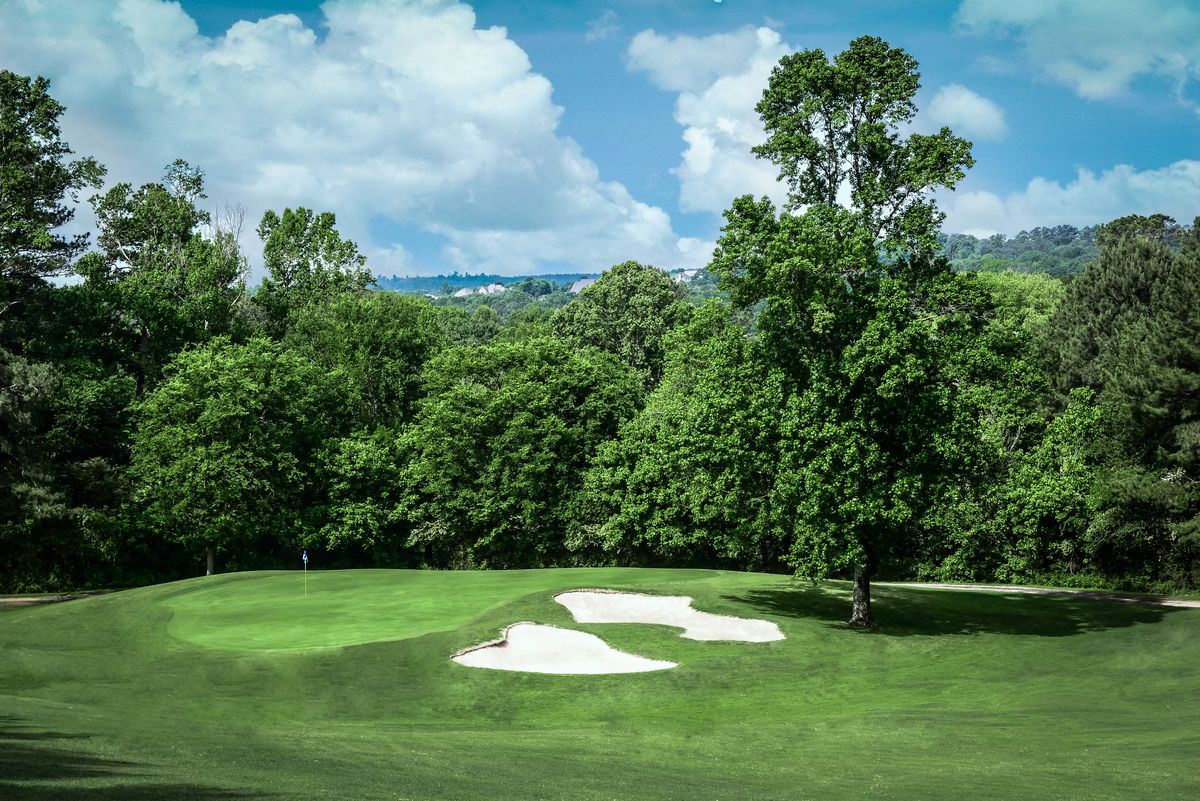
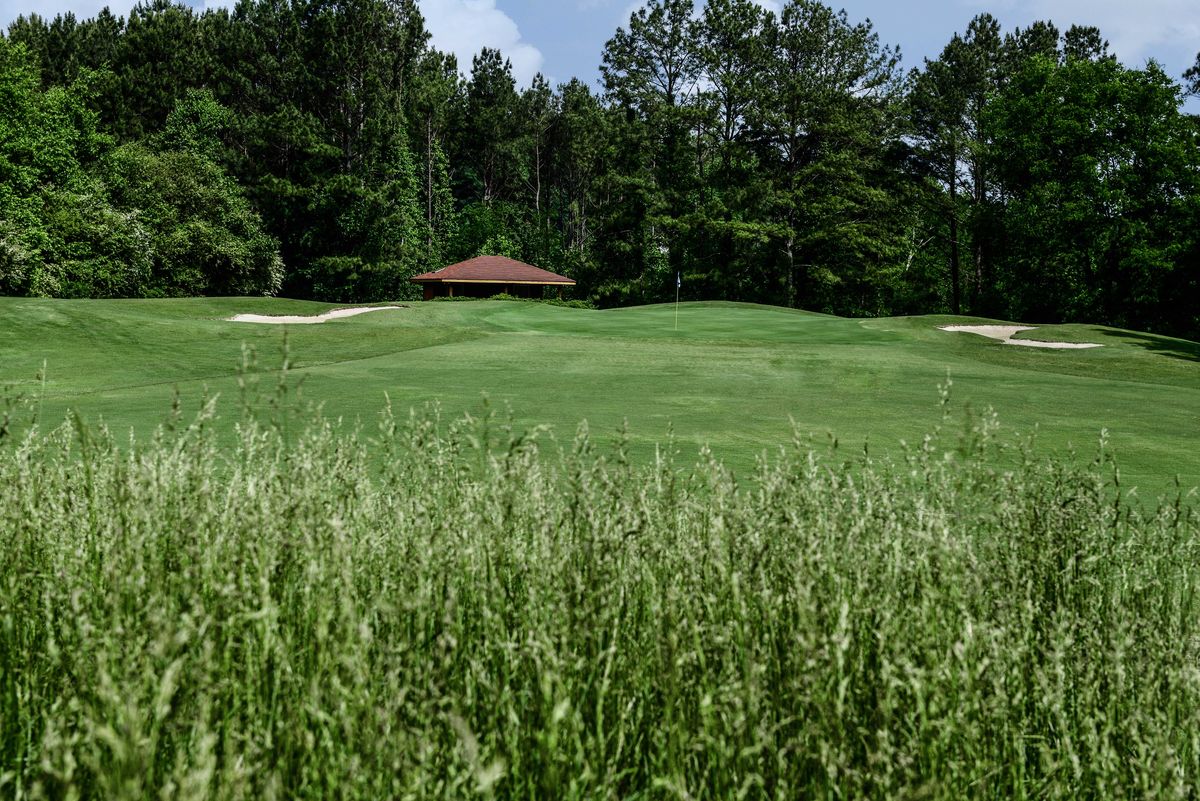
Hole #1
Black Tee 519 Yards Red Tee 485 Yards White Tee 485 Yards Blue Tee 444 Yards A short Par 5 with a good chance to reach in two. Tee shot needs to stay down the left side of the fairway to have a shot of reaching the par 5 in two. Just be careful not to hit your drive too far left or you may hit it in the lake.
-
Hole #2

Black Tee 308 Yards Red Tee 294 Yards White Tee 371 Yards Blue Tee 261 Yards The shortest par 4 on the course. Long hitters can go for the green just be careful out of bounds on the left and a creek on the right.
-
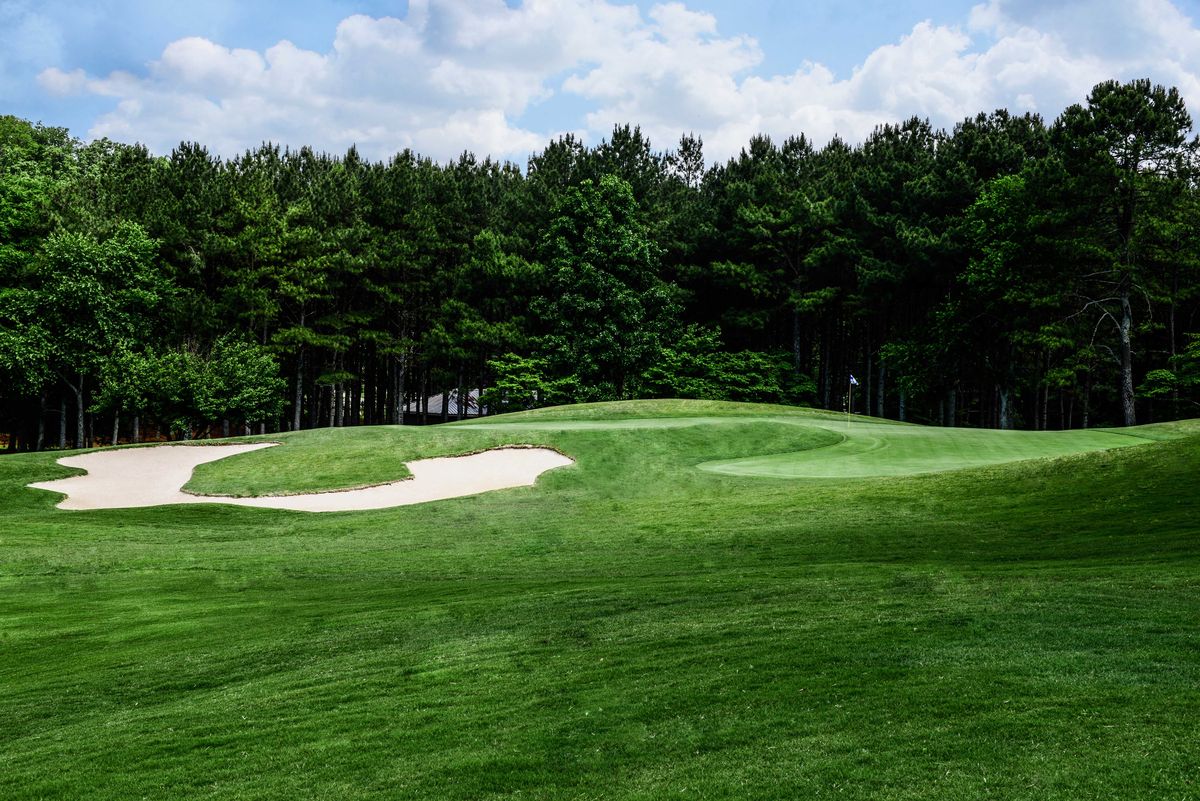
Hole #3
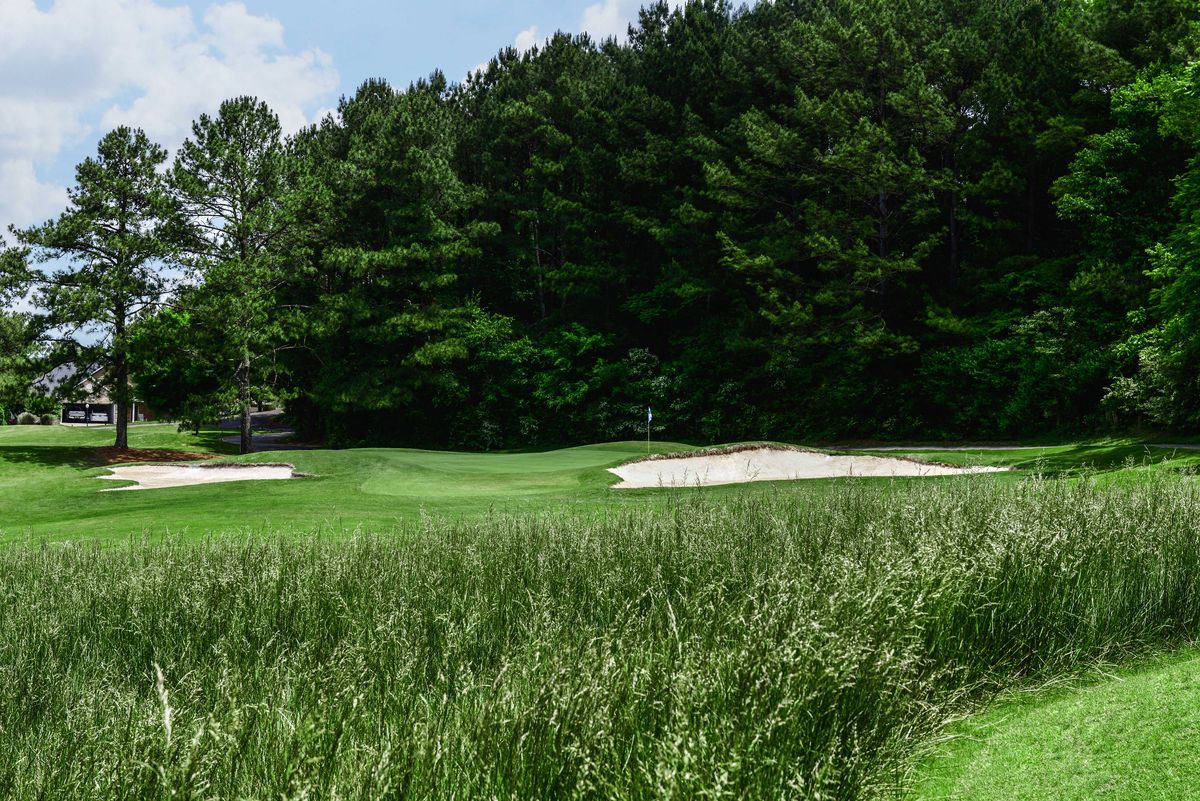
Black Tee 378 Yards Red Tee 361 Yards White Tee 361 Yards Blue Tee 306 Yards An accurate tee shot is required on this medium length par 4. Out of bounds on the left and water on the right. You have a couple different options off the tee. You can hit a long iron off the tee or a driver just be careful not to go through the fairway as it will be difficult to hit your ball on the right level of this 3 tiered green.
-
Hole #4
Black Tee 367 Yards Red Tee 353 Yards White Tee 325 Yards Blue Tee 325 Yards Keep your drive down the left center of the fairway. Fairway slopes to the right. Precision is needed for the approach shot to this 2 tiered green.
-
Hole #5
Black Tee 134 Yards Red Tee 119 Yards White Tee 93 Yards Blue Tee 93 Yards The shortest par 3 on the course. Demands an accurate shot to one of the hardest greens on the course.
-
Hole #6
Black Tee 377 Yards Red Tee 355 Yards White Tee 328 Yards Blue Tee 328 Yards Hit your tee shot left of the fairway bunker. Long hitters can hit it over the bunker leaving them a very short wedge to the green. Be wary if the pin is on the far right of the green.
-
Hole #7

Black Tee 492 Yards Red Tee 462 Yards White Tee 462 Yards Blue Tee 420 Yards The shortest par 5 on the course offers a very good chance to reach this green in two. Tee shot is straightforward and goes a little downhill. Your second shot will go uphill depending on your drive you will hit anything from a 3-wood to a mid iron into this green.
-
Hole #8
Black Tee 173 Yards Red Tee 147 Yards White Tee 118 Yards Blue Tee 114 Yards This par 3 requires a lot of accuracy. Do not be on the left side of the green if the pin is on the right side and vice versa.
-
Hole #9
Black Tee 412 Yards Red Tee 390 Yards White Tee 368 Yards Blue Tee 266 Yards The hardest par 4 on the course. Hole dog legs to the right. Hit your tee shot left of the fairway bunker. Longer players can hit it over the bunker, but it brings in trouble. Do not hit the ball through the fairway or you may not find it again.
-
Hole #10
Black Tee 573 Yards Red Tee 550 Yards White Tee 521 Yards Blue Tee 384 Yards This par 5 is a double dog leg to the right. Hit tee shot up the hill, then you will lay up with anything from a 5 iron to a 3 wood to this downhill green.
-
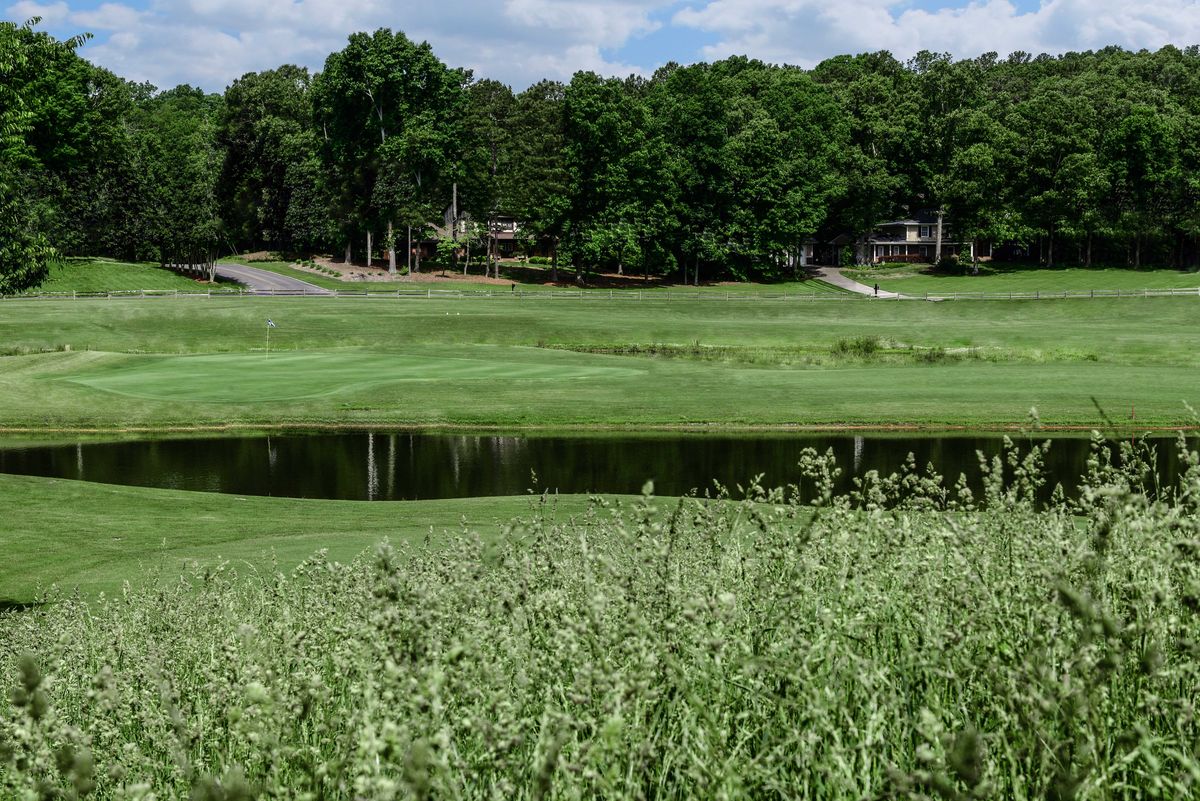
Hole #11
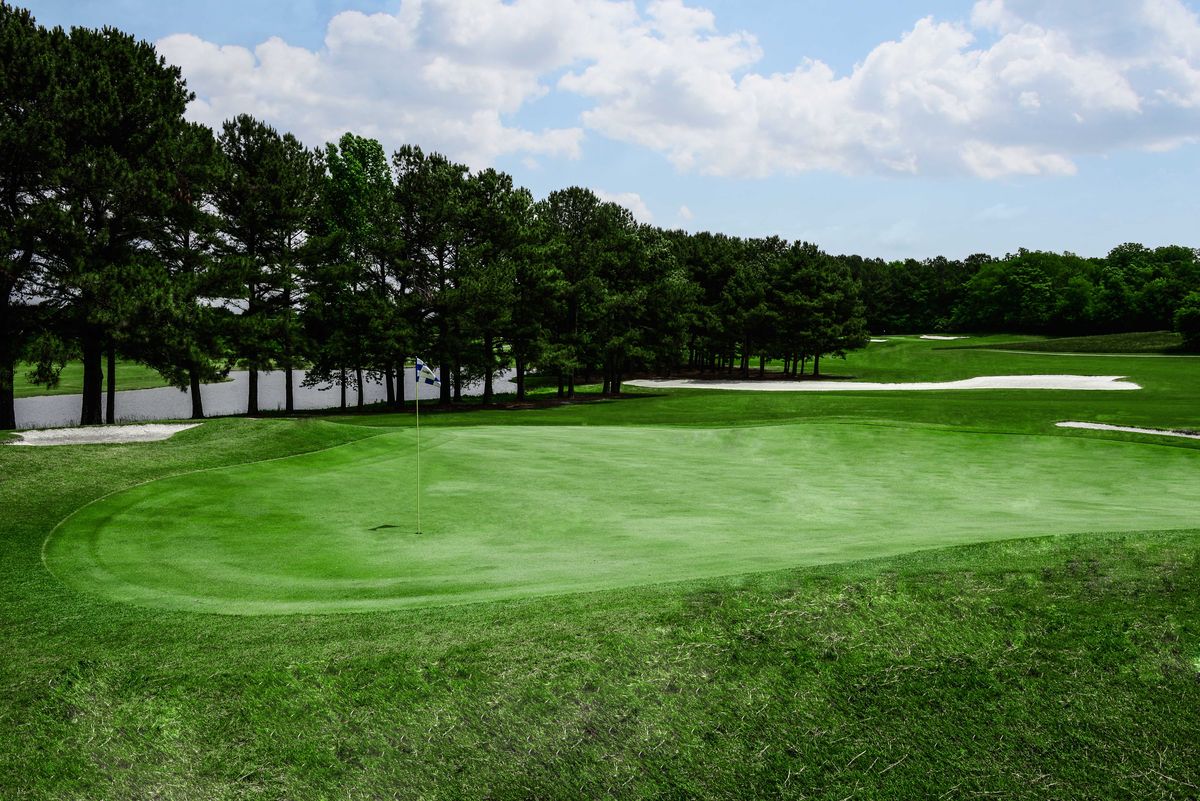
Black Tee 443 Yards Red Tee 408 Yards White Tee 383 Yards Blue Tee 360 Yards The longest par 4 on the course requires accuracy on the tee shot and the approach. Your tee shot will need to shape from right to left. Then the approach shot will need to be right on because there is water short and left of the green.
-
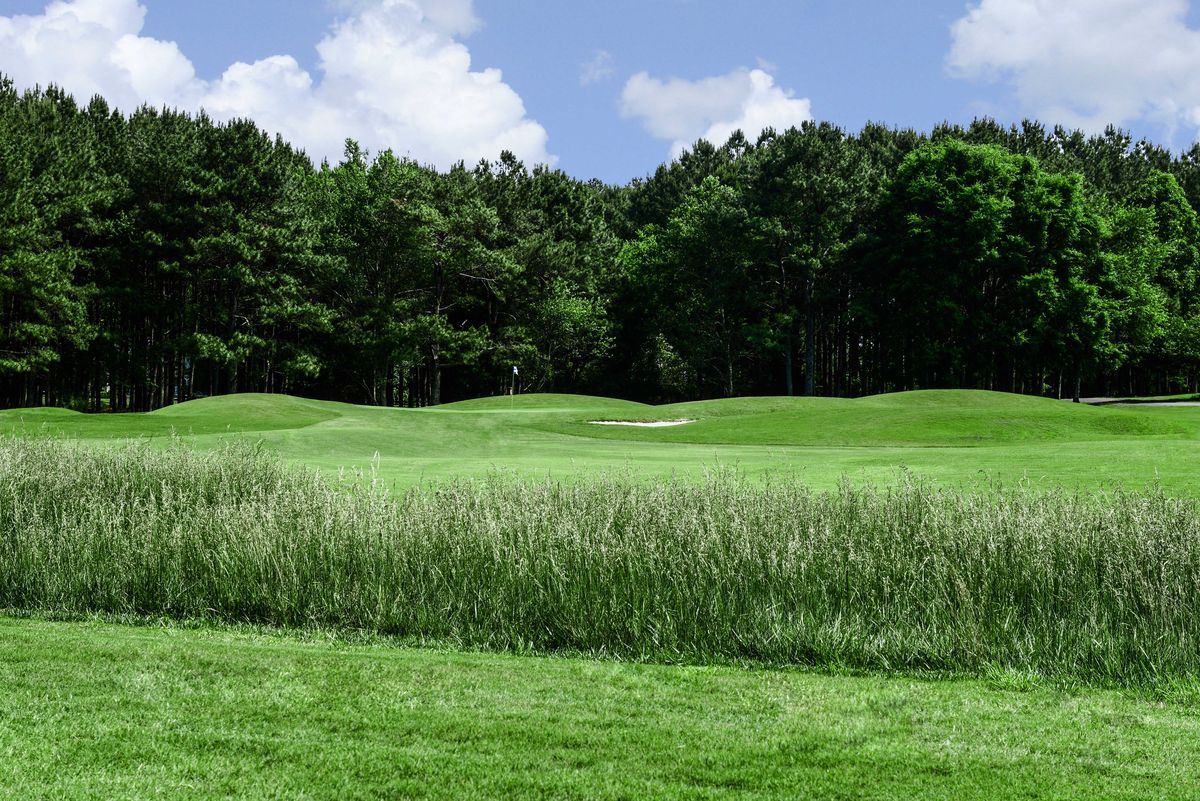
Hole #12
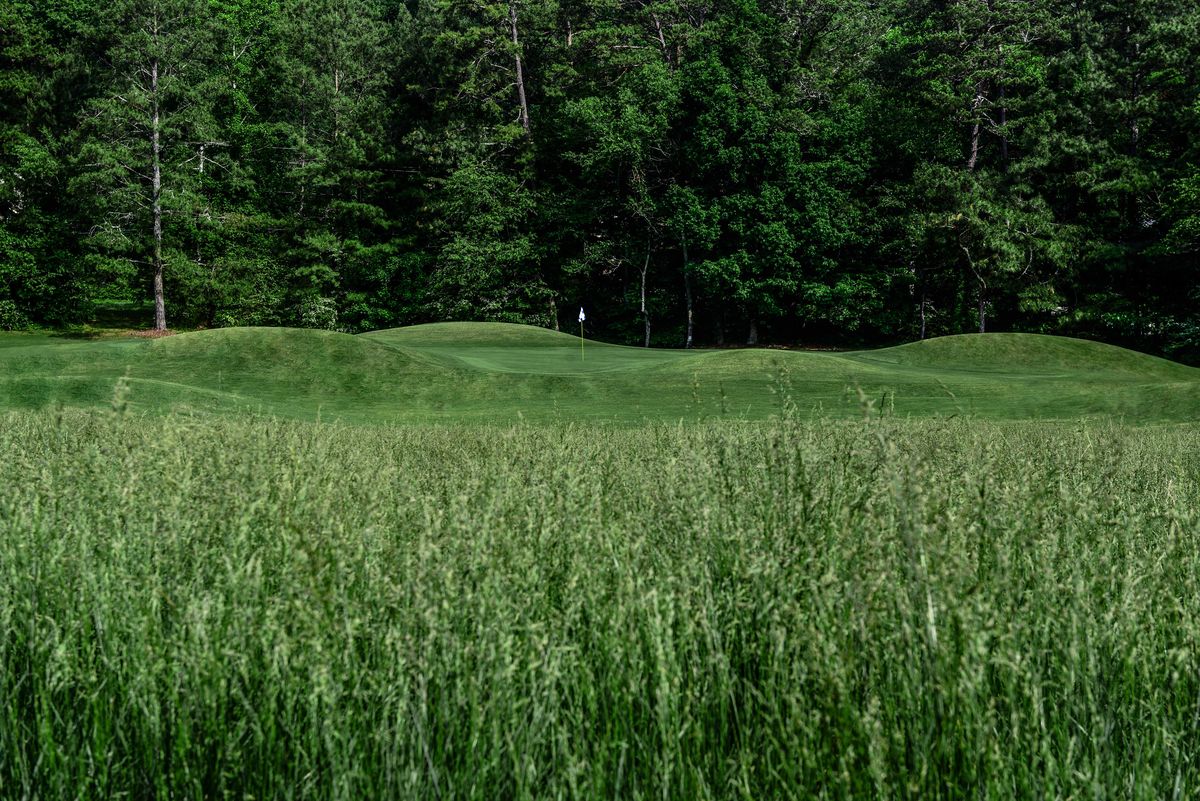
Black Tee 168 Yards Red Tee 145 Yards White Tee 145 Yards Blue Tee 116 Yards This par 3 has the longest green on the course. The green is about 50 yards long. It can be a 4 to 5 club difference depending on where the pin is and wind.
-
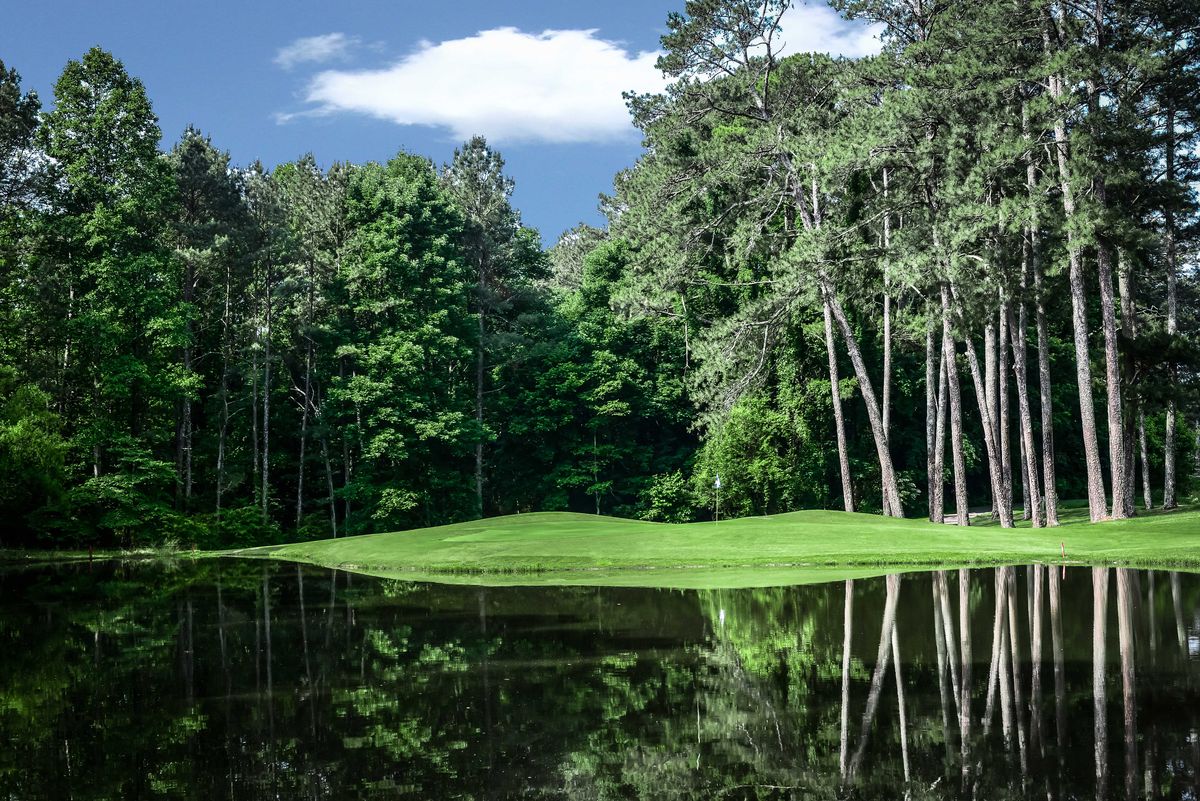
Hole #13
Black Tee 360 Yards Red Tee 323 Yards White Tee 294 Yards Blue Tee 287 Yards Hit your ball right of the fairway bunker. Longer hitters can carry the bunker leaving them a short shot into this straightforward par 4.
-
Hole #14
Black Tee 366 Yards Red Tee 348 Yards White Tee 310 Yards Blue Tee 310 Yards This par 4 dog legs to the left. Hit your ball right of the fairway bunker to leave yourself a short iron to the hole or attempt to hit over the trees left to leave yourself a short chip to the hole.
-
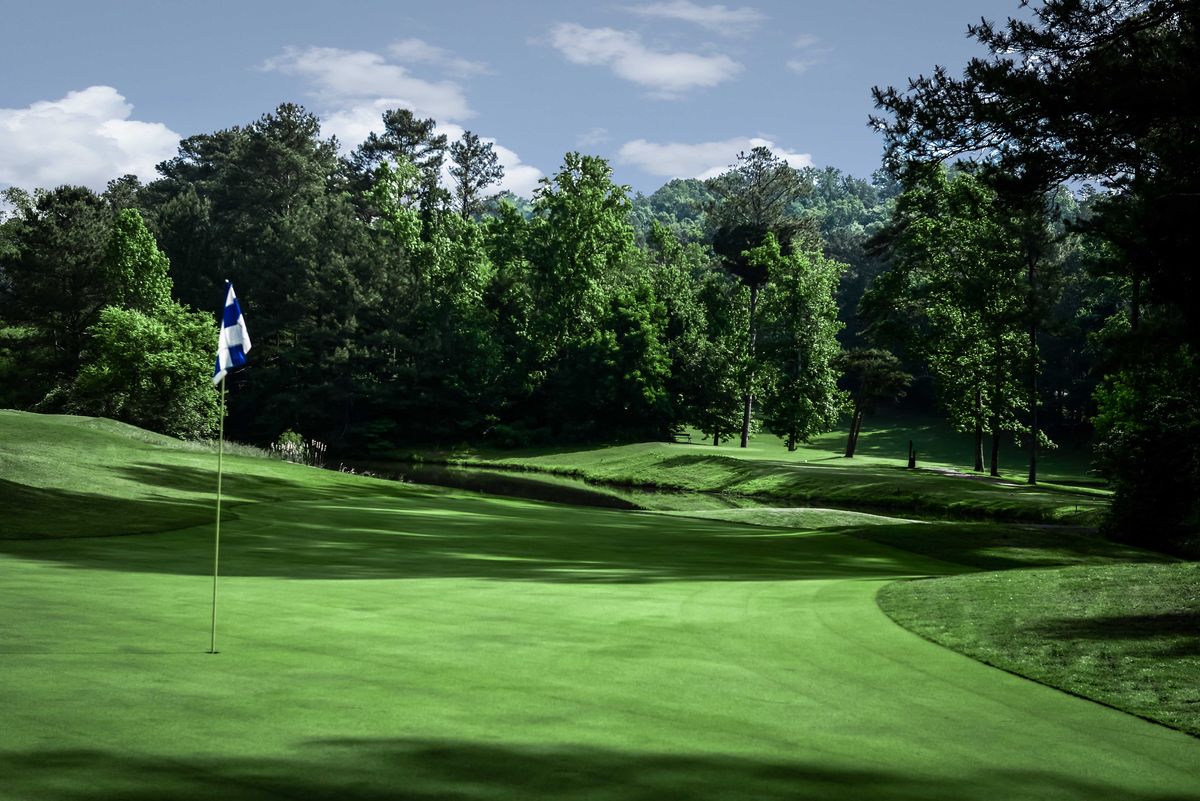
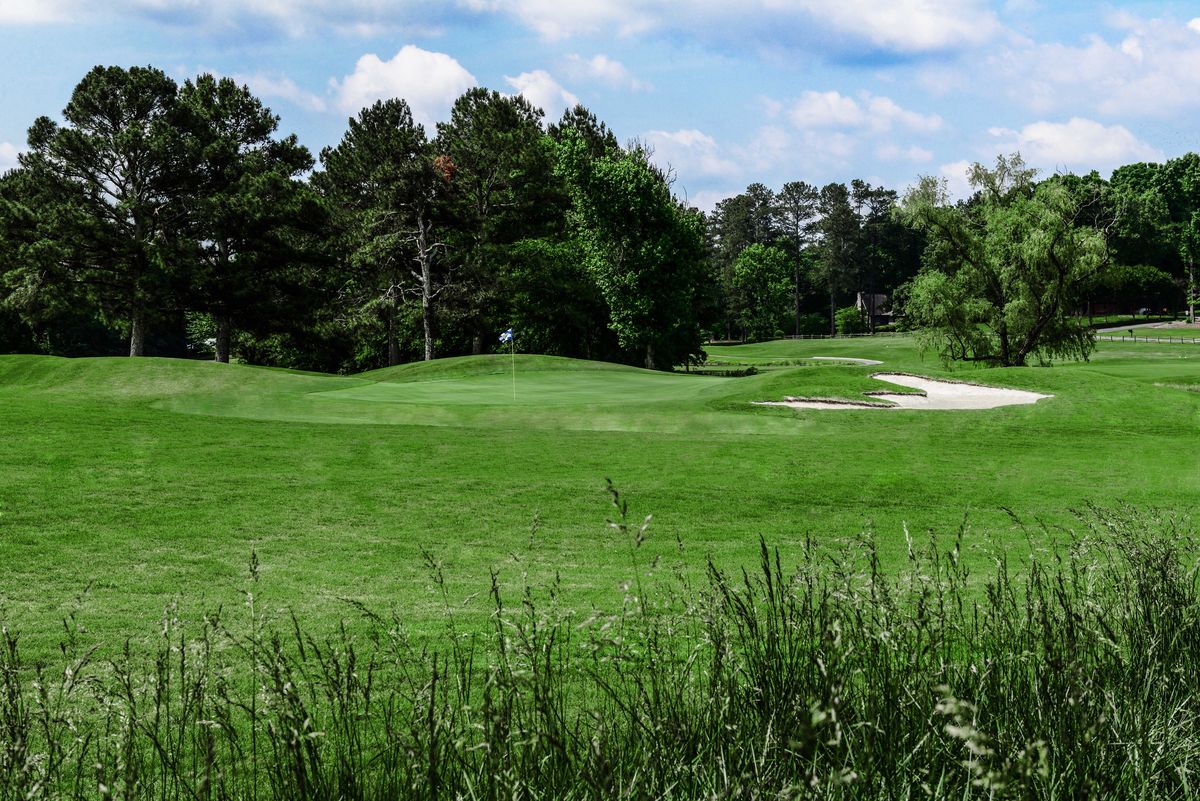
Hole #15
Black Tee 354 Yards Red Tee 327 Yards White Tee 296 Yards Blue Tee 292 Yards This par 4 is a great risk reward hole. This hole has two fairways. The fairway left leaves you a little longer shot over water, and to get to the right fairway it is a blind shot over trees. Taking a direct route to the green is a choice for long hitters as they can drive the green if they can hit it straight. Be wary as the green is surrounded by water.
-
Hole #16
Black Tee 568 Yards Red Tee 534 Yards White Tee 425 Yards Blue Tee 425 Yards The longest par 5 on the course. Not too many people make it home in two. Hit tee shot between the two fairway bunkers. Be precise on your lay up shot. Either lay up short or go over the hazard that is about 100 yards out from the green.
-
Hole #17
Black Tee 185 Yards Red Tee 167 Yards White Tee 133 Yards Blue Tee 119 Yards This is the longest par 3 on the course. It can stretch to right at 200 yards if the tees are at the back. If the pin is on the right side of the green it is a very difficult hole.
-
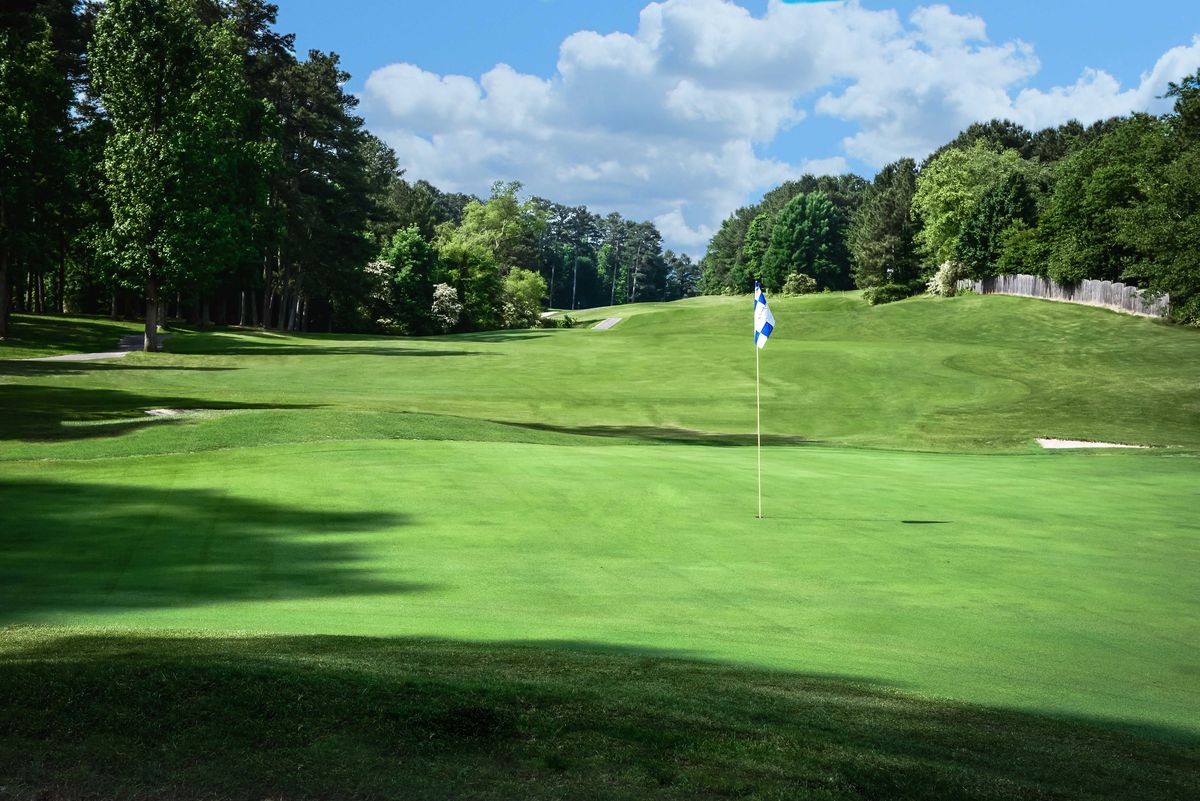
Hole #18
Black Tee 431 Yards Red Tee 392 Yards White Tee 349 Yards Blue Tee 339 Yards Great finishing hole with a couple of options. First option is to hit your shot between the two fairway bunkers leaving yourself around 150 yards or you can try and hit your ball over the left bunker and have a short club in to the hole.